
Last updated November 17, 2026
 Hardwood
 Engineered hardwood
 Luxury vinyl plank
 Laminate
 Porcelain tile
 Carpet
 Shaw
 Mohawk
 COREtec
 Pergo
Free in-home measure and written estimate: Shaw, Mohawk, COREtec and Pergo lines compared on your own rooms, with carpet, tile, vinyl plank, laminate and hardwood laid out side by side
Get your free estimateSubfloors Explained: What Sits Under Your New Floor
Concrete slabs look dry. They are almost never completely dry. A slab poured decades ago in a Southwest Las Vegas Valley neighborhood can still emit enough moisture vapor to ruin a glue-down hardwood floor within eighteen months, and the homeowner never sees it coming because the surface reads as bone-dry to the touch. The subfloor is the layer nobody photographs and everybody depends on. It decides which floors you can even install, which adhesives will hold, and whether a warranty survives the first humid summer. In this guide, we walk through the three subfloor types you’ll find under Enterprise homes, what moisture numbers actually mean, when self-leveling underlayment earns its cost, and how to spot trouble during your own walkthrough before an installer sets foot inside.
Quick Answer
Your subfloor is the structural surface beneath your finished floor, and in most Enterprise homes it’s a concrete slab on grade rather than plywood. That matters because slabs release moisture vapor, which limits glue-down wood and demands the right barrier or underlayment. The finished floor you choose has to be matched to the slab and to tested moisture conditions, not picked from a showroom sample alone.
Styles & brands we work with
- Hardwood
- Engineered hardwood
- Luxury vinyl plank
- Laminate
- Porcelain tile
- Carpet
- Shaw
- Mohawk
- COREtec
- Pergo
Table of Contents
- The Three Subfloor Types in Enterprise Homes
- Why Concrete Slabs Are Almost Never Completely Dry
- What MVER Numbers Mean for Your Adhesive Choice
- Moisture Barrier vs. Underlayment vs. Vapor Retarder
- Self-Leveling Underlayment: When It’s Necessary and What It Costs
- Slab vs. Second-Floor OSB: What Each Subfloor Permits
- How to Spot a Subfloor Problem Before Your Installer Arrives
- The Subfloor Prep Sequence, Step by Step
The Three Subfloor Types in Enterprise Homes
Every subfloor question in Enterprise starts with identifying what’s actually under your feet. There are three scenarios, and each one changes what products are eligible and what prep work is required.
1. Concrete Slab on Grade
This is the dominant subfloor in Enterprise and across the Las Vegas Valley. Homes built on slab sit directly on poured concrete with no crawlspace or basement beneath. The slab is your structural floor. It’s flat, it’s hard, and it transfers moisture vapor from the soil below into your living space year-round. Every adhesive, underlayment, and barrier decision from here flows out of two facts: the slab is stiff, and the slab breathes.
2. Plywood Over Slab
Less common, but you’ll find it in some builds where a furring system or a sleeper layer elevates the finish floor above the slab. This setup gives you a wood substrate to nail into, but it also traps a cavity between wood and concrete where moisture can collect. We’ve seen these subfloors in older Enterprise builds where the original install called for a raised profile, and they need their own moisture assessment before anything goes down.
3. Second-Floor OSB or Plywood
Upstairs rooms sit on oriented strand board or plywood panels over joists. No concrete here, so no vapor emission problem in the slab sense, but you get deflection, squeaks, and panel seams that telegraph through thin flooring. OSB handles humidity swings poorly compared to plywood, which is why proper acclimation and a stab at the subfloor flatness matter before tile or glue-down products go down.
The practical takeaway: don’t order flooring until you know which of these three you’re working with. When we send out technicians, they start by identifying the subfloor type and moving from there. Our technicians have up to 12 years of experience, and the first question they ask is always the same one.
Why Concrete Slabs Are Almost Never Completely Dry
A concrete slab on grade is in constant contact with soil that holds moisture. As that moisture migrates upward through the slab, it has to go somewhere, and it exits as vapor into your home. That process doesn’t stop once the concrete cures. It continues for the life of the home, slowed or accelerated by soil conditions, drainage, and seasonal humidity in the Las Vegas Valley.
What this means in practice:
- Surface feel is misleading. A slab can feel dry, look uniformly gray, and still emit enough vapor to push a glue-down wood floor past its adhesive’s tolerance.
- Every slab is different. Two neighboring Enterprise homes on the same street can test very differently depending on grading, soil drainage, and whether the slab was poured over a vapor retarder.
- The right barrier reduces vapor, it doesn’t eliminate it. A properly installed vapor retarder limits transmission to an acceptable rate for the product above, and the product instructions set that rate.
- Wood flooring is the most sensitive. Tile and carpet are more forgiving of vapor. Natural hardwood, glue-down engineered wood, and some rigid vinyls are pitched against the slab directly and have to be tested.
This is why Enterprise Flooring Installation treats the subfloor as job one, not job two. We install carpet, tile, and hardwood, and every one of those surfaces reacts differently to the same slab. Testing before ordering is the single biggest leverage you have against a callback.
What MVER Numbers Mean for Your Adhesive Choice
MVER stands for moisture vapor emission rate. It’s a measurement of how much moisture vapor a slab releases, expressed as pounds of vapor per 1,000 square feet in 24 hours. A calcium chloride test is the standard way to measure it. The number that comes back tells your installer how aggressive the vapor is and routes the job toward a particular barrier, adhesive, or underlayment strategy.
Here’s what each range generally means, though the exact limits live in the product documentation, not in this guide:
- A low MVER number means the slab is emitting modest vapor and the standard moisture barrier plus standard adhesive is usually viable. Glue-down products have more room to be used.
- A middle-range MVER number means you’re likely into an upgraded barrier or a high-tolerance adhesive. Floating installations often move ahead comfortably. Glue-down still possible with the right product.
- A high MVER number means you’re choosing between a heavy-duty vapor retarder system, a floating installation with the right underlayment, or remediation of the slab before any flooring goes down. Glue-down hardwood is likely off the table unless the product explicitly allows for that rate.
Why the Number Beats the Product Description
A flooring product that advertises “moisture-tolerant adhesive” isn’t a green light to skip the test. The adhesive’s tolerance is stated in a specific range for a specific test method, and if your slab reads above that limit, the adhesive fails regardless of what the label says. A calcium chloride test is inexpensive and fast, and it’s the difference between selecting the right product and selecting a product you’ll have to tear out.
Floating vs. Glue-Down Under Higher Moisture
When the MVER is elevated, a floating installation with a compatible vapor retarder underlayment is often a better path than a glue-down. Floating floors sit above the slab and rely on the underlayment’s barrier performance rather than the adhesive’s moisture tolerance. That makes floating rigid-core profiles and some engineered wood options more forgiving above a slab. It doesn’t make them immune. Standing water and moisture from below still have to be dealt with.
Moisture Barrier vs. Underlayment vs. Vapor Retarder
These three words get used interchangeably in casual conversation and they shouldn’t be. Each is a different product playing a different role, and mixing them up can void a manufacturer warranty before the floor is even broken in.
- Moisture barrier: The layer that blocks vapor migration from the slab upward. It’s usually a film, sheet, or attached component of the underlayment.
- Underlayment: The padded or rigid layer that sits between the finished floor and the subfloor. It provides cushioning, sound control, or a smooth surface. It may have a moisture barrier bonded to it, or it may not.
- Vapor retarder: A sheet material, sometimes installed under a slab at pour time, that slows vapor migration from soil into the concrete. On an existing slab, this is rarely retrofittable, which is why above-slab solutions matter.
The Warranty Trap
Manufacturers specify which underlayments are compatible with their flooring products and which are not. Some rigid-core vinyl lines explicitly require a particular class of underlayment with a built-in vapor barrier. Others prohibit foam padding over slab entirely. If you install a flooring product over the wrong underlayment, the manufacturer can decline a claim regardless of what happened to the floor. That’s not a scare tactic, it’s how the warrant language is written. We work with the product documentation and the customer’s actual underlayment choices, and we flag incompatibilities before the job is scheduled. Enterprise homes on slab get this conversation on every quote.
Self-Leveling Underlayment: When It’s Necessary and What It Costs
Self-leveling underlayment is a pourable compound that’s spread over a slab or subfloor to correct for low spots, ridges, and overall unevenness. It sets into a hard, flat surface that gives your finished floor a stable base. It is not a moisture barrier, and on its own it doesn’t stop vapor. It’s a flatness fix.
When It’s Necessary
- Low spots deeper than the product documentation allows for your specific flooring.
- Old adhesive residue or torn-up subfloor patches creating ridges.
- Height transitions between rooms that need to be smoothed before a continuous floor runs across them.
- Tile installation that requires flatness within the product’s tolerance over a large area.
- Cracked or spalling slab surfaces that need a fresh uniform layer to receive adhesive.
What It Costs
Self-leveling underlayment is quoted per square foot in the product documentation and in our written estimate. The range varies widely based on the depth needed and the coverage rate of the specific product. Ardex and Mapei both make self-leveling compounds that are commonly specified for slab applications. We confirm the product on the estimate, not on a phone call, so the price is set against your actual square footage and depth.
Why It Might Not Be Necessary
A slab that passes flatness within the flooring product’s spec does not need self-leveling. We’ve seen quotes come back with self-leveler added on jobs where the slab was already fine. If your installer proposes it, ask what flatness test was run and what the product’s spec requires. If they can’t answer those two questions with specifics, get a second estimate.
Our tile flooring installation estimates always include a check on slab flatness before the product is ordered. Tile is the least forgiving surface over an out-of-flat slab, and the self-leveling call is where a cheap quote and a good quote differ.
Slab vs. Second-Floor OSB: What Each Subfloor Permits
Each subfloor type opens some doors and closes others. Here’s how we look at the two most common scenarios in Enterprise homes.
Concrete Slab Permits
- Tile of most formats, with the right membrane or self-leveler prep.
- Carpet, with the right cushion and vapor barrier system.
- Floating rigid-core vinyl planks and tiles over a compatible underlayment.
- Some glue-down engineered wood products, subject to MVER testing and adhesive specification.
- Hardwood install over slab in select engineered profiles with the right barrier.
Concrete Slab Restricts
- Most solid hardwood glue-down installs above a certain vapor emission rate.
- Any installation over a slab with standing water or active moisture issues, until remediation.
- Adhesive products outside their stated moisture tolerance, regardless of warranty branding.
Second-Floor OSB Permits
- Nail-down hardwood and engineered wood.
- Carpet over pad.
- Tile over a suitable crack isolation or uncoupling membrane.
- Floating plank and laminate lines.
Second-Floor OSB Restricts
- Glue-down systems without stiffener or underlayment panels added to control deflection.
- Very thin vinyl or laminate over a panel seam that telegraphs through the finished floor.
The distinction matters most at the design stage. When we install floor across a whole home in Enterprise, upstairs and down, the mix of subfloors usually drives the product choice. A single product across both floors is often possible, but not always the smartest answer. Carpet, tile, and hardwood cover all three primary surfaces, and picking the right one for each subfloor is what makes the job last.
How to Spot a Subfloor Problem Before Your Installer Arrives
You don’t have to run a calcium chloride test yourself to catch the obvious stuff. A short walkthrough surfaces most of the problems we see on an estimate visit.
Numbered Walkthrough Checklist
- Walk the floor barefoot or in socks. Soft spots, spongy patches, or hollow-sounding areas underfoot signal subfloor problems. On a concrete slab, listen for a difference between a solid thud and a hollow knock, which can indicate delamination or a void beneath.
- Look for efflorescence. A white, powdery salt deposit along the base of a slab or through cracks is a sign of moisture moving through the concrete. If you see it, that slab is emitting vapor and needs testing.
- Check for old adhesive residue. A tacky or darkened band where a previous floor was glued down tells you a scrape or grind is part of the prep work. Adhesive residue has to be removed before new product goes down.
- Measure height transitions. Doorway thresholds, fireplace hearths, and step-downs between rooms reveal where a self-leveling layer or a transition strip will be required. If two rooms meet at a difference of more than a nail’s width, that transition has to be planned, not improvised.
- Look at cracks. Hairline cracks in a slab are normal. Wide cracks with vertical displacement on either side are a bigger conversation, and they need to be assessed before tile goes down.
- Check under sinks and around toilets. Any history of water release into the subfloor shows up as dark staining on wood panels or a damp smell near the base of the wall. If you find it, say so at the estimate visit; it changes the plan.
- Note squeaks on upper floors. Squeaks in OSB or plywood are usually a loose panel or a fastener that’s backed out. It’s a small fix that’s far easier before the new floor goes down than after.
Bring what you find to the estimate visit. carpet installation and tile jobs both start with the same premises: identify the subfloor type, test for moisture, and prep the surface before the product is delivered. Getting the walkthrough right up front saves a return visit later.
The Subfloor Prep Sequence, Step by Step
Every flooring job in Enterprise, from a single room refresh to a whole-home update, follows the same subfloor prep sequence. It’s not glamorous, but skipping a step is where installs fail.
- Identify the subfloor type. Concrete slab, plywood over slab, or second-floor OSB. This determines every decision that follows.
- Test for moisture. On a slab, run a calcium chloride test or a comparable MVER assessment. On a second floor, check for prior water damage and confirm the panels are sound.
- Clean and prep the surface. Remove old adhesive, scrape high spots, and address cracks with the appropriate patching compound.
- Address flatness. Self-leveling underlayment, a patching compound, or a sanding pass, depending on the readings.
- Select the barrier or underlayment. Match to the finished floor product’s spec, not to what’s left over from the last job.
- Install the barrier or underlayment. Seams taped, edges lapped, and connections around penetrations sealed.
- Acclimate the finished floor. Follow the manufacturer’s product instructions for the acclimation requirement. This varies by product and by room.
- Install the finished floor. Now, and only now, the product goes down.
Nine brand relationships matter here. When we install Shaw, Mohawk, COREtec, Pergo, LifeProof, Mannington, Armstrong, Daltile, or Karndean product, we work with the manufacturer’s subfloor spec for that line. COREtec’s rigid core and LifeProof’s waterproof options have particular underlayment requirements for slab applications. Pergo’s entry-level laminate has a different moisture profile than a Karndean designer vinyl. The subfloor dictates the product, and the brand roster lets us match to your actual home instead of steering you toward what’s on a shelf.
If you’re weighing a floor refresh over an existing hardwood, our refinishing service is worth understanding before you plan too far. Refinishing saves a floor that’s sound but tired, and it changes the subfloor conversation entirely because the subfloor isn’t touched.
Common Mistakes to Avoid
- Skipping the moisture test on a slab. The slab looks dry, so the homeowner assumes it is. A calcium chloride reading takes less time than a flooring order, and skipping it is the most common reason a glue-down install fails within the first two years.
- Assuming all underlayments are interchangeable. A cushion pad from a big-box store is not the same as a vapor-retardant underlayment designed for slab installs. Choosing the wrong one can void the flooring warranty in Enterprise homes on grade.
- Putting rigid vinyl over a slab without a barrier. Water-resistant flooring is not the same as moisture-proof. Standing water and vapor from below still have to be managed, and rigid core doesn’t replace the barrier.
- Trusting a “flat” slab claim without a measurement. Flat to the eye and flat to spec are different things. Always ask what flatness test was run and what tolerance the product requires.
- Ignoring height transitions until install day. Doorway thresholds, step-downs, and adjacent rooms at different heights need to be measured at the estimate stage, not improvised on install day.
- Skipping acclimation to save time. Acclimation timing lives in the product instructions and varies by material. Rushing it is a guaranteed way to buy a callback.
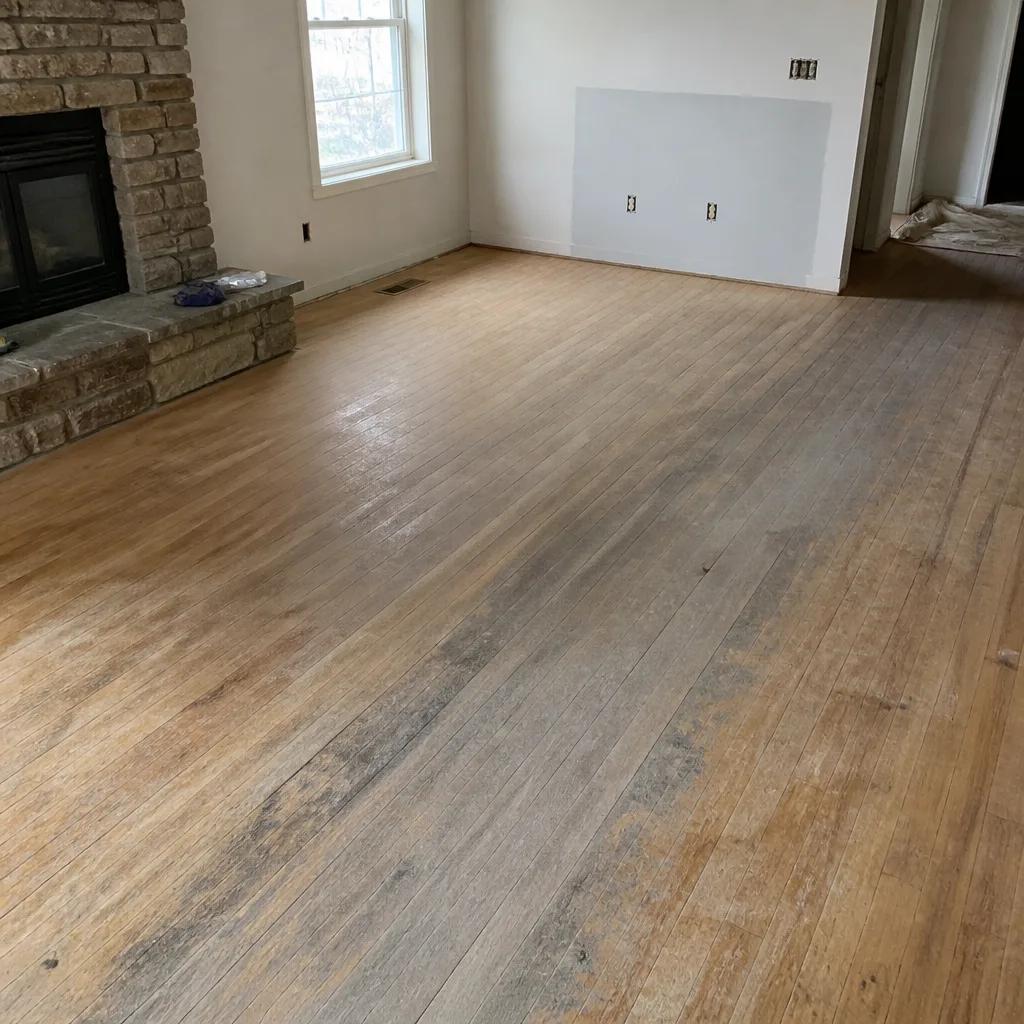
- Refinishing a floor that’s already too thin. Not every hardwood floor can be sanded again. Ask for the thickness to be checked at the estimate visit; it’s a wood-note call, not a promise.
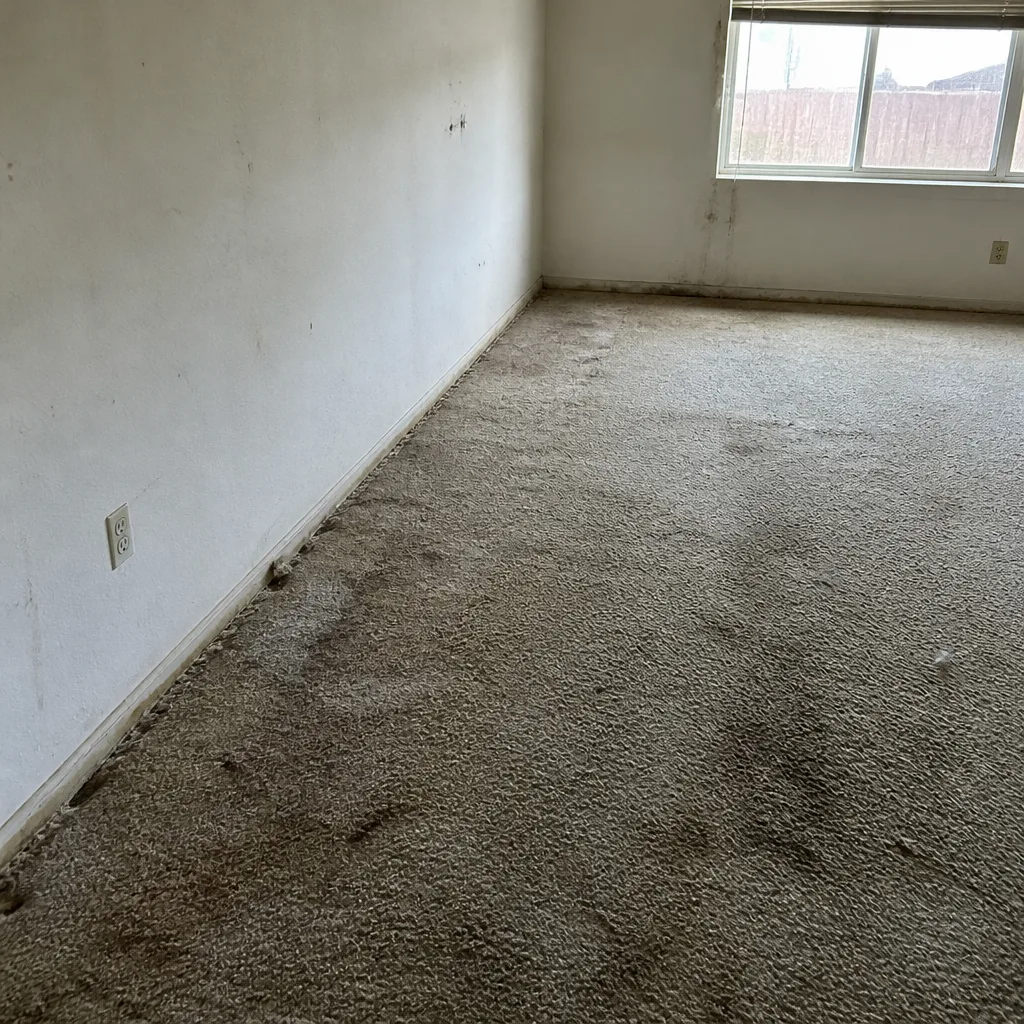
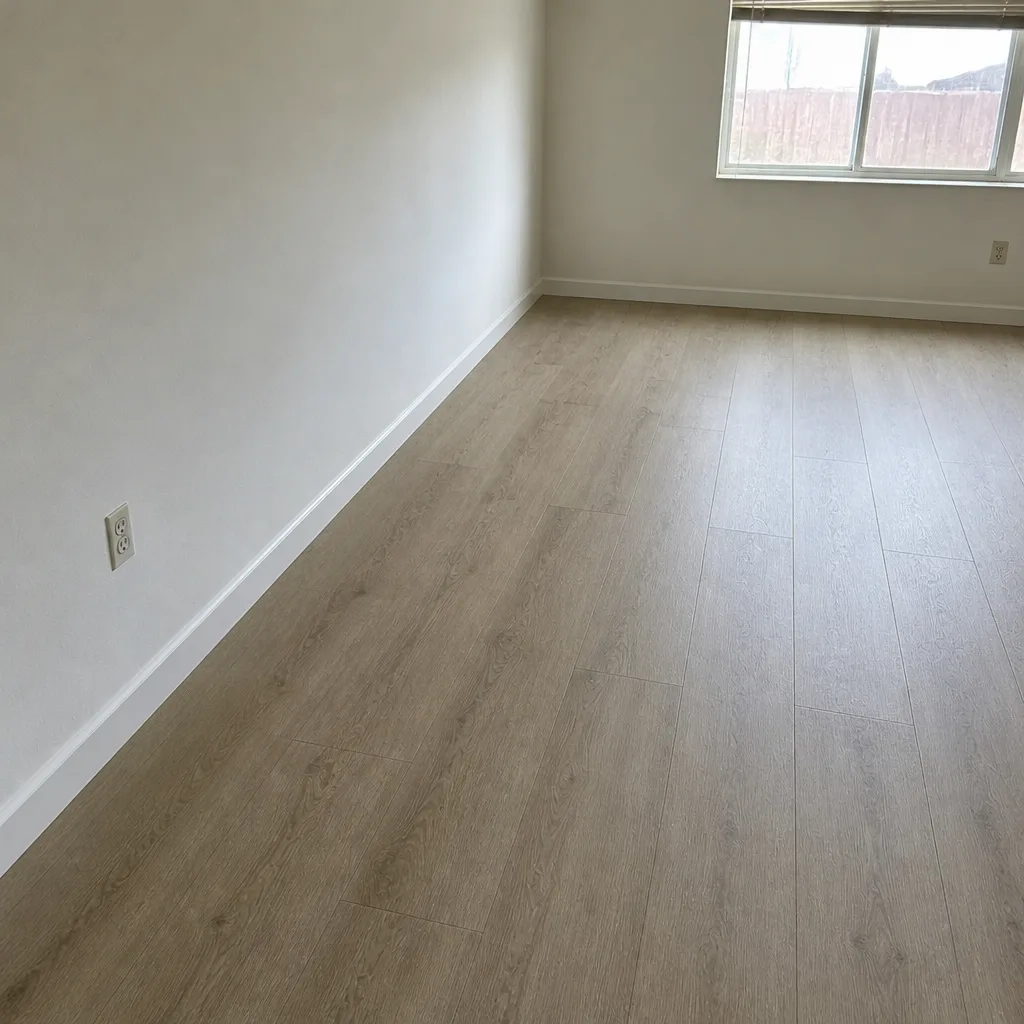
See the difference
 Before
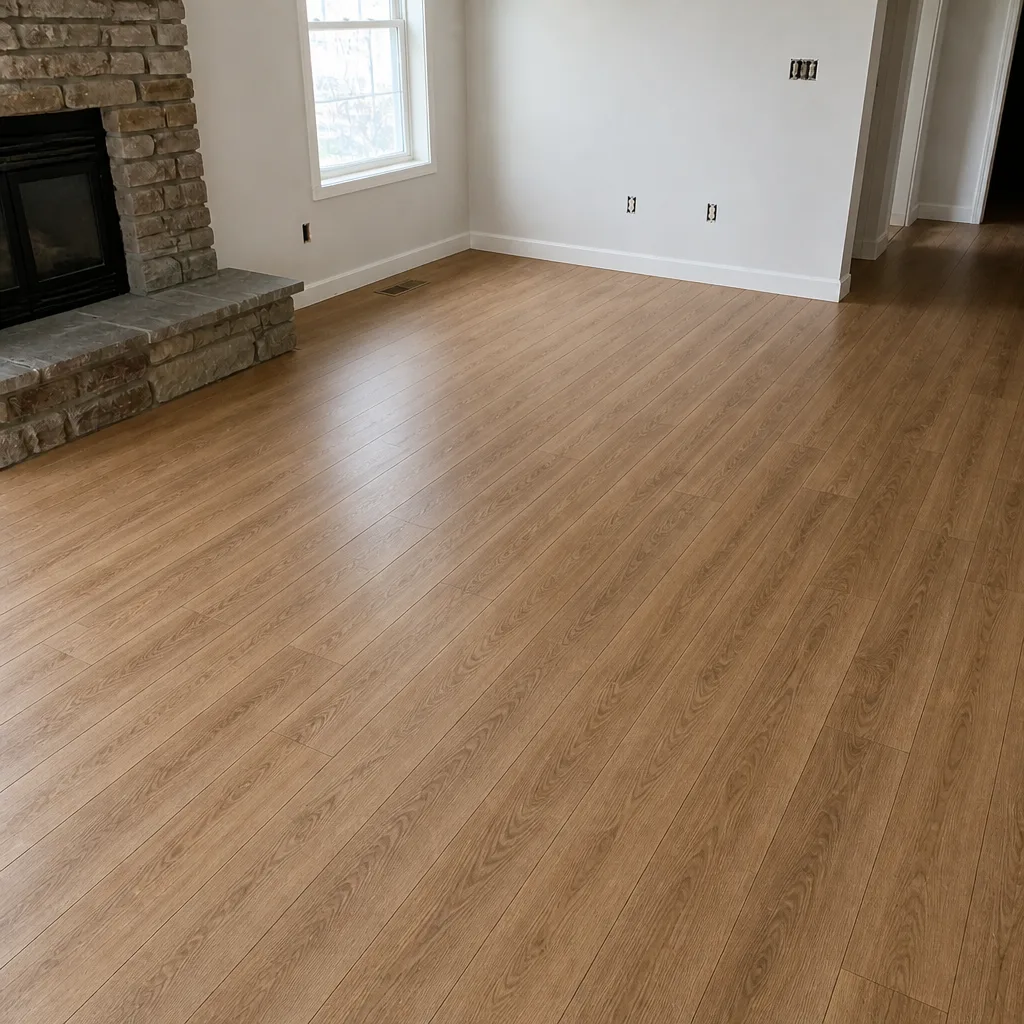 After
 Before
 After
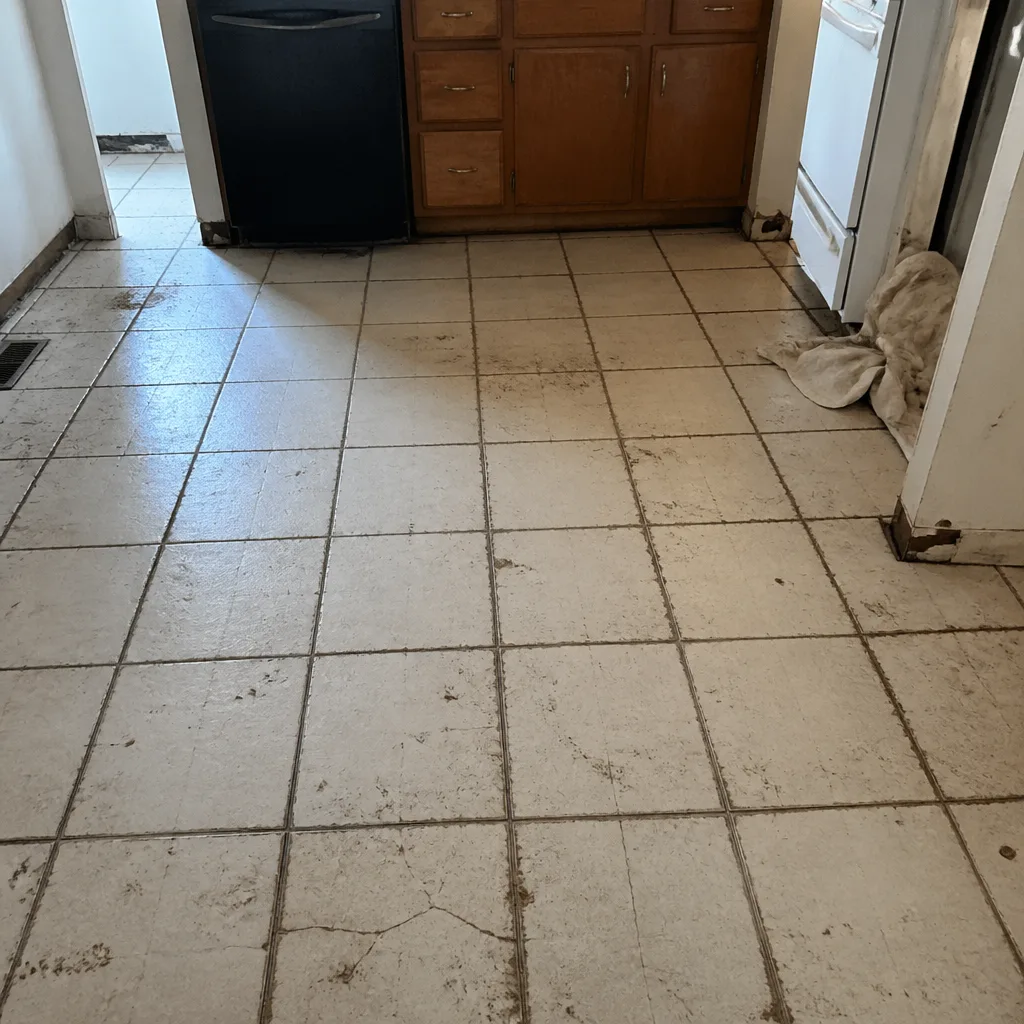 Before
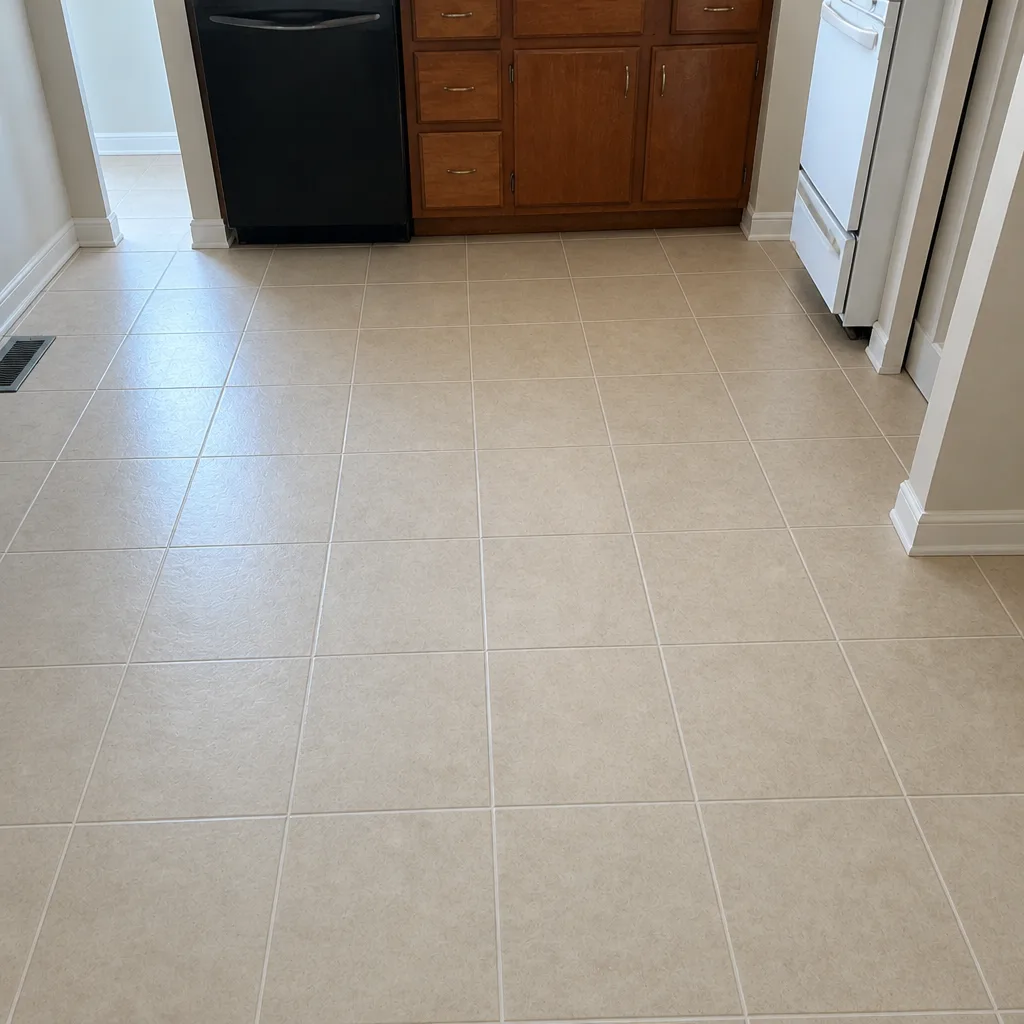 After
When to Call a Professional
If you’ve found efflorescence at the base of a slab wall, wide cracks with vertical displacement, or dark staining around a bathroom or kitchen, call before you order flooring. Those signals are a moisture conversation that needs testing, not a guess. If you’re installing tile over a slab larger than one room, if you’re thinking about glue-down engineered wood in a basement or ground-floor room, or if you’ve never confirmed which subfloor type you have, a professional walkthrough pays for itself in a single visit. Enterprise Flooring Installation offers free estimates in Enterprise, and we walk the subfloor before we quote the product. Call (833) 620-6314. We answer 24/7. Fast dispatch from 7am to 7pm, Sunday through Friday.
Frequently Asked Questions
No, but the majority do. Slab on grade is the dominant build type in Enterprise and across the Las Vegas Valley, especially in homes built within the last few decades. Second-floor rooms sit on OSB or plywood over joists, and a smaller number of homes have a plywood-over-slab assembly with a sleeper layer. Call (833) 620-6314 for a free estimate that confirms your subfloor type before you order flooring.
Self-leveling underlayment is priced per square foot and depends on the depth and coverage rate of the product specified for your floor. The range varies by product and by how much flatness correction the job requires, so we put the number in a written estimate after checking the slab. Call (833) 620-6314 to schedule a free estimate; the estimate is free and the written quote sets the price.
Sometimes, and it depends on the moisture reading and the product. Some engineered wood floors are rated for slab installation with a compatible moisture barrier, and their product instructions define the MVER limit. Solid hardwood and many glue-down engineered products are stricter. Call (833) 620-6314 for a free estimate on your slab; we test before we recommend.
Yes. We provide a free estimate and a written quote, and there’s no charge to walk the subfloor and identify what the job needs. The written estimate is what sets the final price. Call (833) 620-6314 to schedule yours; we answer 24/7 and dispatch from 7am to 7pm, Sunday through Friday.
A moisture barrier limits vapor migration from the slab upward. An underlayment is the layer between the slab and the finished floor that provides cushion, sound control, or a smooth surface. Some underlayments have a barrier bonded to them, some don’t, and the manufacturer’s product documentation determines which combination is approved for the flooring you’ve chosen. Call (833) 620-6314 for a free estimate that matches the right combination to your slab.
Installation length varies by product, square footage, and the subfloor prep required, and the schedule is set at the estimate visit once we’ve tested the slab and confirmed flatness. We confirm the install day and don’t promise same-day installation. Call (833) 620-6314 for a free estimate and a written schedule.
The Bottom Line
The subfloor decides more about a flooring project than the flooring itself. In Enterprise, that almost always means a concrete slab, and a slab is in constant conversation with the soil moisture below it. Test the slab, choose the barrier to match the product documentation, add self-leveling underlayment only when the flatness readings call for it, and walk the floor yourself before the estimate visit so nothing on install day is a surprise. Hard surface, soft surface, or natural wood, they all sit on the same subfloor, and getting the layer below right is what makes the layer above last.
Written by the team at Enterprise Flooring Installation.