
Last updated November 17, 2026
 Hardwood
 Engineered hardwood
 Luxury vinyl plank
 Laminate
 Porcelain tile
 Carpet
 Shaw
 Mohawk
 COREtec
 Pergo
Free in-home measure and written estimate: Shaw, Mohawk, COREtec and Pergo lines compared on your own rooms, with carpet, tile, vinyl plank, laminate and hardwood laid out side by side
Get your free estimateHow to Prepare Your Home for a Flooring Installation in Enterprise
Most flooring delays in Enterprise don’t start with the crew or the product. They start the moment an installer walks in and finds the room still full of furniture. A crew that shows up to a room that isn’t ready has two options: reschedule or charge you an extra $200 – $400 on the spot for the delay. Neither one is in the quote you signed, and both cost you more than the prep would have. The prep work that prevents this isn’t complicated, but it has a specific order and a specific timeline, and almost nobody explains it before install day. This guide walks you through the thermostat rule, the furniture boundary, the subfloor checklist, trim decisions, and pet and kid logistics for a multi-day job in Enterprise.
Quick Answer
To prepare your home for a flooring installation in Enterprise, clear the room completely, set the thermostat to your normal occupied temperature for at least 48 hours before the crew arrives, run a subfloor inspection for soft spots and high fasteners, decide who removes baseboards and door casings, and plan where pets and children go during adhesive cure times. The written estimate should spell out exactly which prep tasks belong to you and which belong to the installer. If it doesn’t, ask before you sign.
Styles & brands we work with
- Hardwood
- Engineered hardwood
- Luxury vinyl plank
- Laminate
- Porcelain tile
- Carpet
- Shaw
- Mohawk
- COREtec
- Pergo
Table of Contents
- The 48-Hour Thermostat Rule
- Furniture and Fixtures: Who Handles What?
- Your Subfloor Inspection Checklist
- Baseboards and Door Casings: Remove or Undercut?
- Pet and Child Logistics During a Multi-Day Install
- How the Install Schedule Usually Unfolds
- Common Mistakes to Avoid
- Frequently Asked Questions
The 48-Hour Thermostat Rule
Flooring material needs to sit in the home at the temperature and humidity the home normally runs at. Not the temperature of the garage it was delivered to. Not the back of a truck that sat in the sun. The interior temperature of the room where it will be installed. If your house is at 68°F the day the material arrives and then climbs to 82°F by install day, that swing is exactly the kind of shift that produces gaps, curled edges, and a call back to the installer.
In Enterprise, this matters more than in most of the country. Summer exterior heat reaches 100°F and above, and a stack of flooring material delivered to a driveway and left there before coming inside gets far hotter than that. Set the thermostat to your normal occupied setting at least 48 hours before install day and leave it there. Don’t turn it down to save money while the crew is working. Don’t turn the house into a cooler for the material. Treat the room the way you would treat it on a normal Tuesday when you’re home and comfortable.
Here’s how the acclimation window should break down:
- 48 hours before install: Set the thermostat to your normal occupied temperature. Keep it there through install day.
- When material arrives: Have it moved indoors immediately. It should sit in the room where it will be installed, in its packaging, flat, not stacked against a wall.
- Product instructions decide the rest: Every material has its own acclimation guidance, and the product instructions and the written estimate set the actual window. Don’t guess based on what worked for a neighbor’s different product.
- Don’t open the boxes early: Boxes stay sealed until the crew opens them. Opening them to “check the color” before install day puts the material in a different condition than the crew expects.
LifeProof and similar rigid-core products still want the same treatment. The product is water-resistant, not immune to temperature swings during installation. Standing water and moisture from below still need to be dealt with, and acclimation is a separate issue from moisture. We’ve seen plenty of jobs where the product was right and the room conditions weren’t, and the results weren’t what the homeowner paid for. The 48-hour rule isn’t optional, and it costs you nothing but a thermostat setting.
Furniture and Fixtures: Who Handles What?
The cleanest way to avoid a disaster on install day is to know exactly what the installer moves and what you move, and to get that boundary written into the estimate. In general, here’s where the line usually falls with our Enterprise Flooring Installation service:
- You handle: All moveable furniture, rugs, floor lamps, plants, wall art that might be affected, and anything sitting in the room that isn’t attached to the walls or floor.
- You handle: Emptying closets, bookshelves, and cabinets that sit in the room or block access to it.
- You decide with the installer: Appliances like refrigerators, washer and dryer, and built-in furniture. Some crews move these; some don’t. Get it in writing.
- You decide with the installer: Toilets in bathrooms being re-floored. Some installers pull and reset toilets; some require a plumber. Confirm before the day.
- Installer handles: Floor demo, subfloor prep, undercutting door casings where agreed, laying the material, and cleanup of construction debris.
Notice how many line items say “decide with the installer.” That’s the point. The single biggest source of install-day friction we see isn’t a homeowner who moved too little furniture. It’s a homeowner who assumed the crew would move the refrigerator because it seemed obvious. Ask the question during the estimate visit, get the answer in the written quote, and there’s nothing left to argue about on the morning of install.
A practical rule: if you can lift it with one hand, plan to move it. If it plugs in or is bolted down, ask. And have the room completely clear by the night before, not the morning of. That gives you time to notice what you forgot without holding up the crew.
Your Subfloor Inspection Checklist
A flooring crew can fix almost any subfloor problem, but the fix has to be planned. What you can do before the crew arrives is identify the issues so nothing surprising shows up on install day. Walk the room and run this checklist:
- Soft spots: Step across the floor slowly. Feel for any area that gives under your weight. Soft spots point to water damage or a failing subfloor that needs repair before the new floor goes down.
- Squeaks: Walk the room normally and listen. Squeaks come from movement between the subfloor and the joists or between panels. Addressing them at the estimate visit beats discovering them under a finished floor.
- High fasteners: Run a straightedge across the floor and look for nail or screw heads sticking above the surface. Paint sticks work well. Any fastener that sits proud of the subfloor has to be set before the new flooring goes in.
- Levelness tolerance: The standard tolerance for most floor coverings is 3/16″ over 10 feet. Set a straightedge on the floor and check the gap underneath. If it exceeds the tolerance, the subfloor needs prep, and that has to be in the scope before install day.
- Moisture: If the room is over a crawl space, in a basement, or near a bathroom, note it. Moisture issues are diagnosed properly at the estimate visit, not by the homeowner with a guess.
- Debris and adhesive: Old adhesive, paint drips, dried thinset, and any bumps on the subfloor affect the new floor. A clean subfloor is a prep item, not your job, but noting it helps the crew plan.
Write down what you find and bring it to the estimate visit. If the crew walks in and finds a soft spot you didn’t mention, that’s a same-day scope change, which usually means a rescheduled install. For the broader picture of the services we offer, the Enterprise page is the place to start.
Baseboards and Door Casings: Remove or Undercut?
There are two honest approaches to trim, and the choice affects how much material you save and how the finished floor looks. Neither is wrong. They produce different results.
Removing baseboards and door casings
Removal gives the installer full access to the subfloor at the wall line, lets the new floor run under the trim, and produces a clean finished look with no shoe moulding or caulk line where the floor meets the wall. The catch is that removal can damage trim, especially in older Enterprise homes where baseboards have been painted into place for years. You may end up replacing some trim, and that’s an added cost the written estimate should reflect before the work starts.
Undercutting the door casings
Undercutting uses a jamb saw to cut the casing bottom at the height of the new floor, so the floor slides underneath the trim without removal. It preserves the trim, saves the labor of removal and reinstall, and typically leaves a cleaner transition at doorways. The tradeoff is that the casing has to be tall enough to give the saw something to cut into, and the installer has to know the final floor thickness before cutting.
How to decide
- Choose removal if: You want the cleanest possible finish, you plan to repaint the baseboards anyway, or your trim is already loose or damaged.
- Choose undercutting if: You want to preserve your existing trim, you’re watching the budget, or the job is a room refresh rather than a full renovation.
- Ask in writing: Whichever approach you pick, get the decision in the written estimate. It affects labor and material, and it affects how the finished floor meets the wall.
For tile work, trim decisions interact with grout line width and how the tile edge terminates at doorways and walls. That’s a conversation for the estimate visit, not install morning. Our tile flooring installation service covers the details when that’s the material you choose.
Pet and Child Logistics During a Multi-Day Install
Adhesive cure times are the piece most homeowners don’t plan for. During certain stages of a tile or glue-down installation, you cannot walk on a section of floor for a set period. The product instructions and the installer set that window, and it can be long enough to change where your family sleeps, eats, and lets the dog out. Plan for it before the first day, not after.
Here’s how to work it out:
- Block off the work zone. A pet gate or a closed door keeps pets and kids out of the room without a debate every ten minutes.
- Map your route through the house. If the install blocks a hallway, plan an alternate path now. Figure out how you’ll get from the bedroom to the kitchen on day two.
- Plan for a stuck pet. If the dog needs to go out and the only route crosses a curing section, you have a problem. Move the crate or the bed before install starts.
- Move the food and water bowls. They go somewhere outside the work zone before the crew arrives, not after they’ve started.
- Keep kids off demo debris. Demo day produces sharp edges and dust. Keep the work area closed for the day.
- Do not walk on freshly laid adhesive sections until the installer says so. The product instructions and the estimate set the timing.
A multi-day install means a multi-day shift in how the house runs. That’s normal. The families that have the smoothest installs are the ones who planned the dog’s route and the kids’ dinner spot before day one. If you have carpet going into bedrooms alongside tile or hardwood in the main rooms, stagger the timing so at least one functional space is always available. Our carpet installation service can be scheduled to work around the rest of the project.
How the Install Schedule Usually Unfolds
A flooring install is a booked job, not a same-day service call. The sequence of steps generally looks like this:
- Free in-home measure and estimate. The installer measures the rooms, looks at the subfloor, and asks the prep questions. You’ll know the trim approach, the material choice, and the prep boundary before anything is signed.
- Written estimate. The price is set by the written quote. That document is the one that matters, and it should name the prep tasks and the scope clearly.
- Material delivery and acclimation. Material arrives, goes indoors, and sits at your normal occupied temperature for the window the product instructions specify.
- Prep day. Furniture moves, subfloor repairs happen, trim comes off or gets undercut.
- Install day. The crew lays the floor. Cure times and walk-on timing follow the product instructions.
- Trim reinstall and cleanup. Baseboards go back on, debris comes out, and the room gets reset.
The schedule is set at the estimate, but the estimate can only set the schedule it knows about. If the furniture isn’t moved, the schedule changes. If the thermostat wasn’t set, the schedule changes. If the subfloor has problems nobody flagged, the schedule changes. The prep list in this guide exists to keep the estimate accurate.
Common Mistakes to Avoid
- Leaving furniture in the room. A crew that shows up to a full room has to reschedule or charge you for the delay, and neither outcome is in your quote. Clear the space the night before, not the morning of.
- Turning the thermostat down to save on the power bill. A room that swings in temperature during install is a room that produces gaps and curled edges. Set it to your normal occupied setting 48 hours out and leave it.
- Assuming the crew moves appliances and toilets. Some crews do, some don’t, and every installer draws the line differently. Get the answer in the written estimate, not on install morning.
- Skipping the subfloor walkthrough. If a soft spot or a high fastener shows up on install day, it becomes a scope change and a rescheduled job. Your 15-minute walkthrough prevents that.
- Choosing trim removal vs. undercutting by guesswork. Each approach has a material and labor cost, and the choice should be in the written estimate before the room gets prepped.
- Forgetting the pet and kid route. Adhesive cure times can close a hallway for hours. Plan the alternate route and the dog’s exit before day one.
- Buying material before the estimate visit. Material choice interacts with subfloor condition, room moisture, and trim decisions, and the estimate visit is where those get sorted out.
See the difference
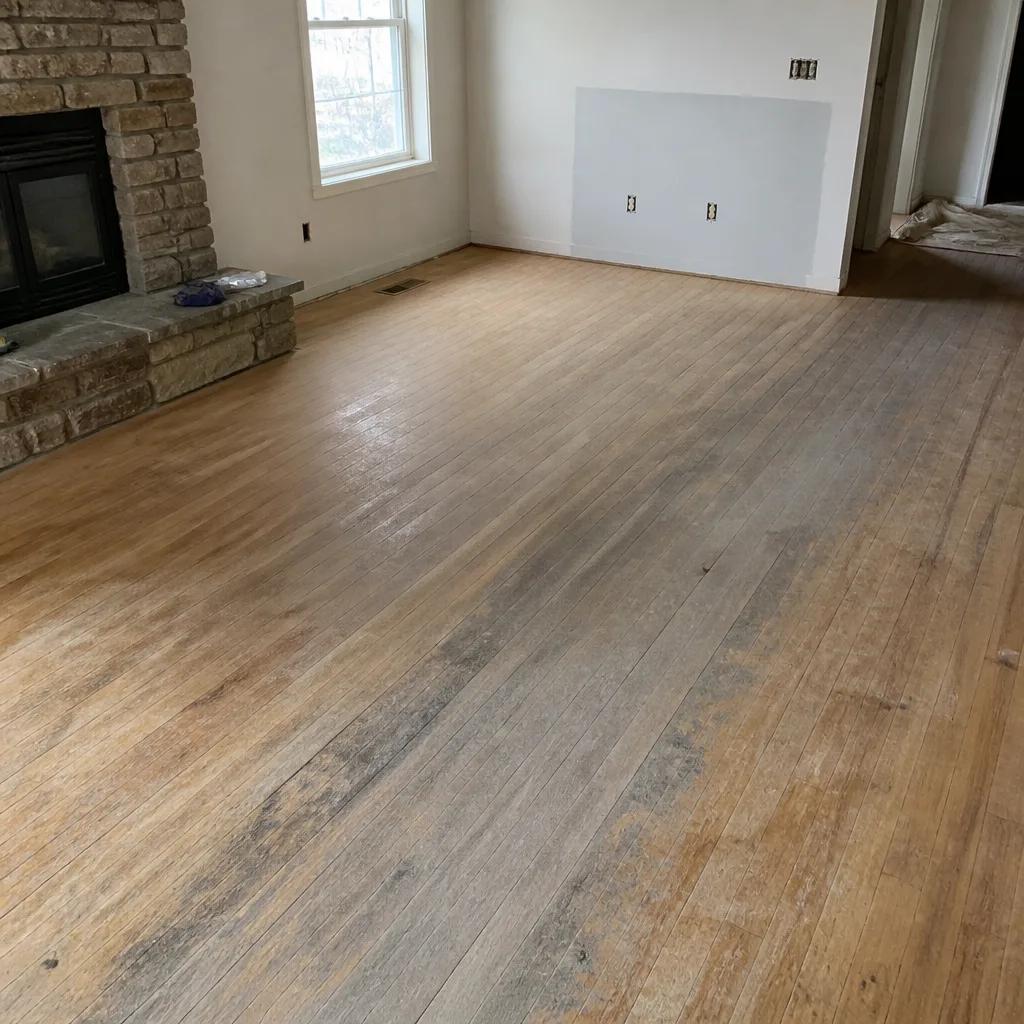 Before
 After
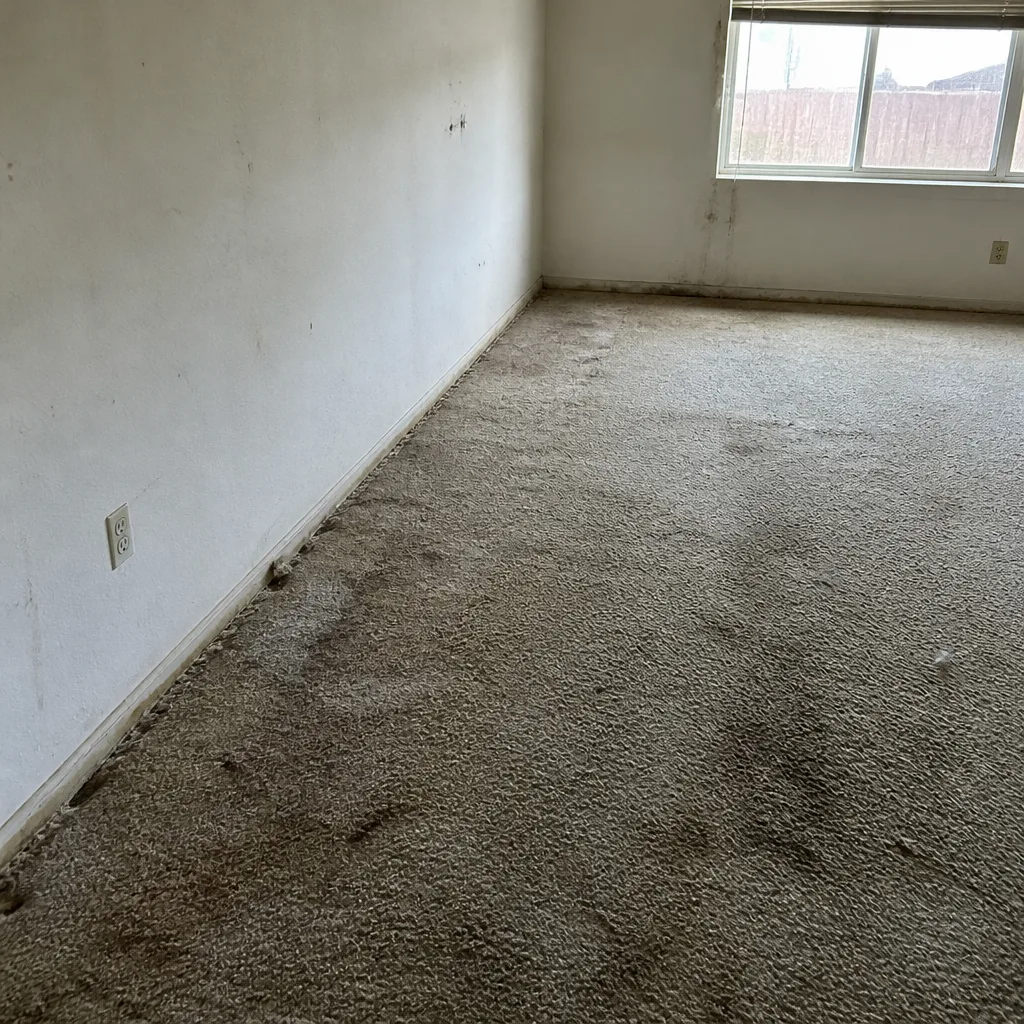 Before
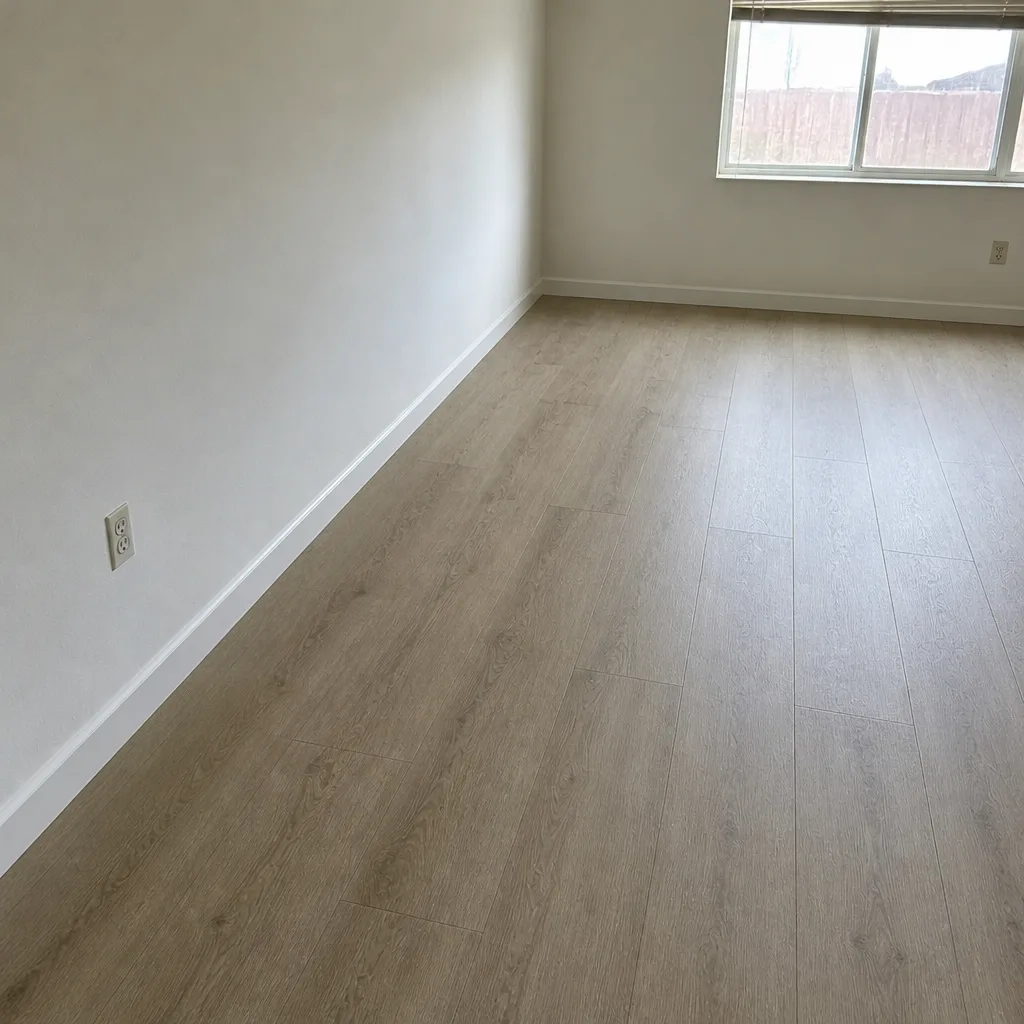 After
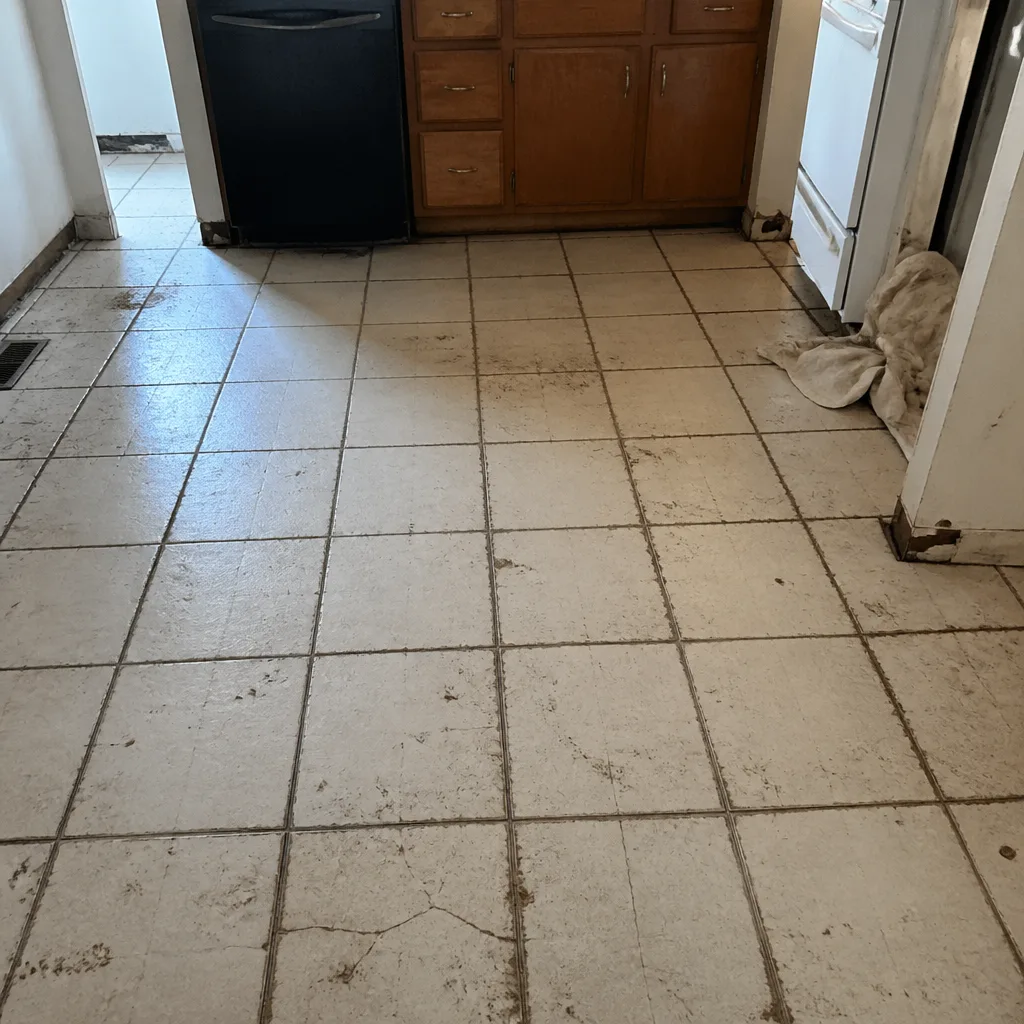 Before
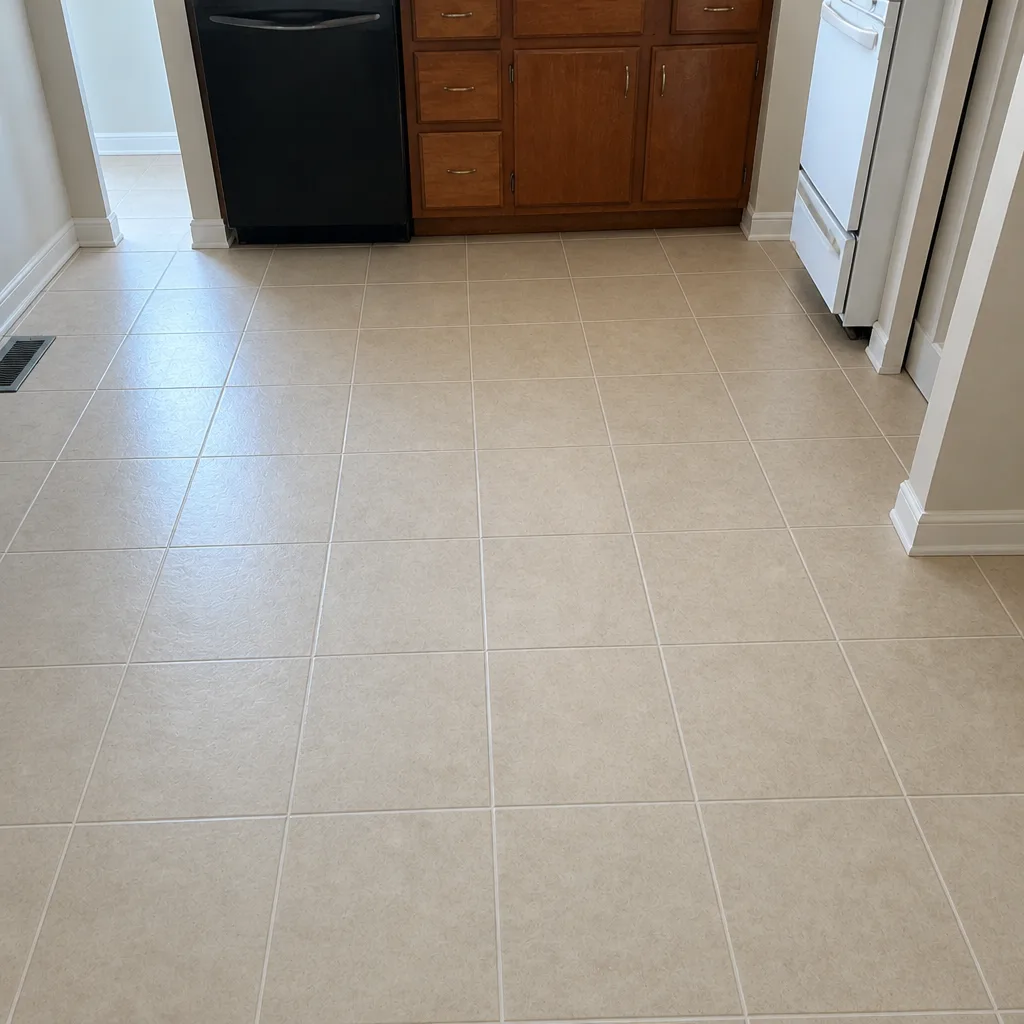 After
When to Call a Professional
If your subfloor has soft spots, if you’re not sure whether the levelness is within the 3/16″ over 10 feet tolerance, or if you need a toilet pulled and reset for a bathroom floor, that’s the point to bring in a professional. The same goes for any project where you can’t get the prep boundary in writing before install day, or where the room has moisture concerns that need a practiced eye. Big-brand materials like LifeProof, Mannington, and Armstrong have specific installation instructions, and those instructions determine what prep is required. Enterprise Flooring Installation offers free estimates in Enterprise – call (833) 620-6314. We answer 24/7. Fast dispatch from 7am to 7pm, Sunday through Friday. The estimate visit is where the scope, the trim approach, and the prep boundary get settled, and the written quote is the document the final price comes from. Getting that in writing is the single best thing you can do for the install.
Frequently Asked Questions
Clear the room completely, set the thermostat to your normal occupied temperature 48 hours before install day, run a subfloor inspection for soft spots and high fasteners, decide who removes baseboards and door casings, and plan pet and child routes around adhesive cure times. Get the prep boundary in the written estimate. Call (833) 620-6314 to schedule the free measure and estimate that sets the scope.
Flooring material has to acclimate at the same temperature the room will run at, so a house that swings in temperature during install produces gaps and curled edges. Set the thermostat to your normal occupied setting 48 hours before install day and leave it there. In Enterprise’s summer heat, material that spent time in a hot delivery truck needs that acclimation window even more. The product instructions and the written estimate set the exact timing.
You move all loose furniture, rugs, plants, and closet contents. Appliances, toilets, and anything bolted down are decided case by case and belong in the written estimate. If you can lift it with one hand, plan to move it. If it plugs in or is attached to the wall or floor, ask the installer at the estimate visit.
Removal gives the cleanest finished look and full access to the subfloor, but it can damage trim and adds the cost of reinstall. Undercutting preserves the existing trim and usually saves labor, but the casing has to give the saw something to cut into. The choice belongs in the written estimate, and it should be made before the room is prepped. Call (833) 620-6314 for an exact quote – estimates are free.
The schedule is set at the estimate, once the room size, the material, the subfloor condition, and the trim approach are known. A single-room refresh and a whole-home project are different jobs with different timelines. The estimate visit is where the booked install day gets set, and prep failures are the most common reason a schedule slips.
Walk the room and check for soft spots that give under your weight, squeaks, high fasteners above the surface, and levelness beyond 3/16″ over 10 feet. Note any moisture concerns if the room is over a crawl space or near a bathroom. Bring what you find to the estimate visit. If a problem surfaces on install day instead, it becomes a scope change and a rescheduled job.
For high-moisture rooms like kitchens, baths, and basements, water-resistant options like LifeProof and similar rigid-core products are worth a look. For primary living spaces, Mannington and Armstrong offer a range of finish and texture choices. For tile work, Daltile is a solid starting point for surface options. The right choice depends on the room, the subfloor, and the project; the estimate visit is where that gets matched to your actual job. Call (833) 620-6314. We answer 24/7. Fast dispatch from 7am to 7pm, Sunday through Friday.
The Bottom Line
Most flooring delays in Enterprise come from prep, not product. The 48-hour thermostat rule, a cleared room, a subfloor walkthrough, a trim decision in writing, and a pet and kid plan for the days when you can’t walk on certain sections: that’s the list. None of it takes a special skill set, but all of it has to happen before install day, not during it. The written estimate is the document that settles scope and price, and the estimate visit is where the prep boundary gets defined. Get the estimate in writing, plan the room access, and keep the house at its usual temperature. The install is booked at the estimate, and the quote is the final word on price.
Enterprise Flooring Installation provides residential Enterprise Flooring Installation services including carpet installation, tile flooring installation, and hardwood floor refinishing, and installs products from nine manufacturer brands. Our technicians have up to 12 years of experience. Call (833) 620-6314 to schedule your free estimate. We answer 24/7. Fast dispatch from 7am to 7pm, Sunday through Friday.
Written by the team at Enterprise Flooring Installation.